Design and make your own album cover - a step-by-step guide June 30 2016
There have been some truly great album covers over the years and using Promaxx’s self-printable foldable CD wallet kit, you too can join the likes of the Rolling Stones and the Beatles. Creating a personalised album cover will elevate your homemade playlist and if you created the album as a gift, will provide a special personal touch.
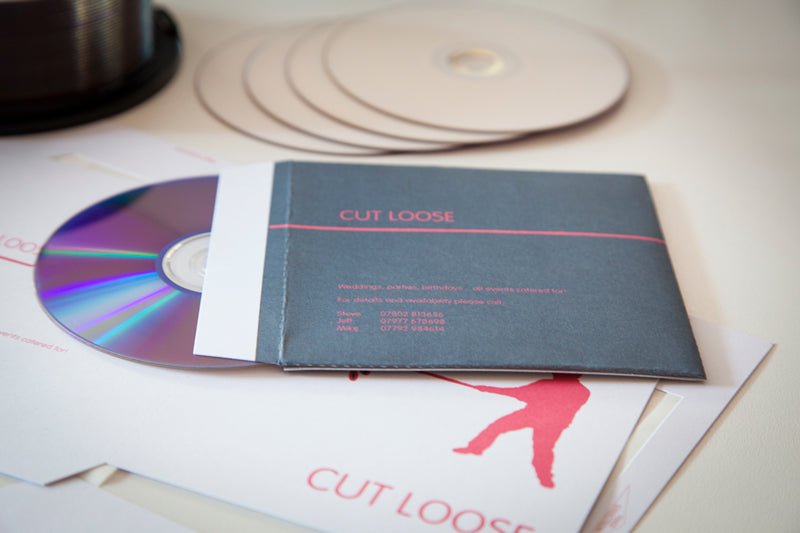
Here’s a step-by-step guide to designing and making your own album cover.
Choose the image(s) – whether you’re using your own photograph, downloading an image, or creating your own design, you need to decide how you are going to decorate the front and back covers as well as the inside spread. You may choose a single image that you replicate across all four sides of the CD wallet or alternatively, you may opt for different designs on each quarter. You may have created a holiday playlist in which case a beach scene or palm trees might fit the bill. If it’s a collection of love songs for that special person in your life, then obviously the design will reflect this.
Crop to fit – once you’ve decided on the right images, copy them onto the template before manipulating and cropping them to fit the space provided on the template.
Incorporating text – by inserting a text box, you can easily include the words you require on your album. You may want to give it a name on the front cover or down the spine, or include a short dedication on the reverse side. There is space on the inside cover for a list of tracks should you choose.
Print a sample – now you’re happy with how things look, print out a sample of your album cover. This gives you an opportunity to see close up how your design looks. It’s also a chance to proof-read the text to make sure all the spellings are correct, that the font is the one you want and that it is aligned as you desire. Promaxx allows you to print one copy at a time so you need not waste anymore samples than you need to during the checking process.
Print and fold – with everything checked, make corrections. Now it’s time to print the finished article. Double check this one more time before printing and peeling out the CD cover from the pre-cut sheet, folding along the score lines and sealing using the double-sided backing tape. Insert the CDs and you are there.